Nope, I'm not going sailing. At least not right now! I did, however, just make a bag that would look perfect on the arm of a sailor and I thought I would share it with you.
I crocheted this bag based on a modification of the pattern I used for the
Fashion First Aid bag. I decided I wanted a bag that was more of a hobo style and that was bigger. I also though that the anchor pattern would be perfect for summer. I made a gauge swatch to figure out how many stitches I'd need to make (width and height) to achieve the right size. I also designed the anchor shape.I did some googling to look at different anchor shapes. Then, I drew one onto graph paper, which is how I've typically seen crochet patterns with shapes drawn. You could probably do just about any shape you wanted, though shapes that are actually round I think will tend to be more challenging. I considered using a peace sign instead and just couldn't figure out how to use the squares to make a circle. I also chose to use cotton yarn rather than the acrylic yarn I'd used before because I wanted to have something that would be comfortable to carry under my arm even on the hottest days. For this project, I used Sugar and Cream yarn, which is 100% cotton. This is by far the largest project I've made out of this type of yarn, and I'm impressed with its sturdiness. I'm also a little surprised that, though it's not fuzzy at all, it's quite heavy.
I knew that changing between different colored yarns in this pattern was going to be very similar to what I had done in the Fashion First Aid bag. But, I didn't initially think about how much more challenging it was going to be with a shape that's more complex.

Um, yikes. I knew from the start that this was going to be the inside, but still. Do you want to have that on the inside of your purse? I don't. So, I ripped every thing out up to the cross bar piece of the anchor. I knew that I couldn't really do anything different with the pieces above there. But it was those big strings leading out to the tips of the bottom piece that I was really nervous about. The pattern for the Fashion First Aid bag is really very simple, and you don't encounter these issues. Debbie Stoller's suggestion for multiple color knitting is that the main color goes along inside the contrasting color while you're working in the contrasting color. Her analogy is that the main color is like the filling inside a Twinkie - you can't see it, but you know it's there.
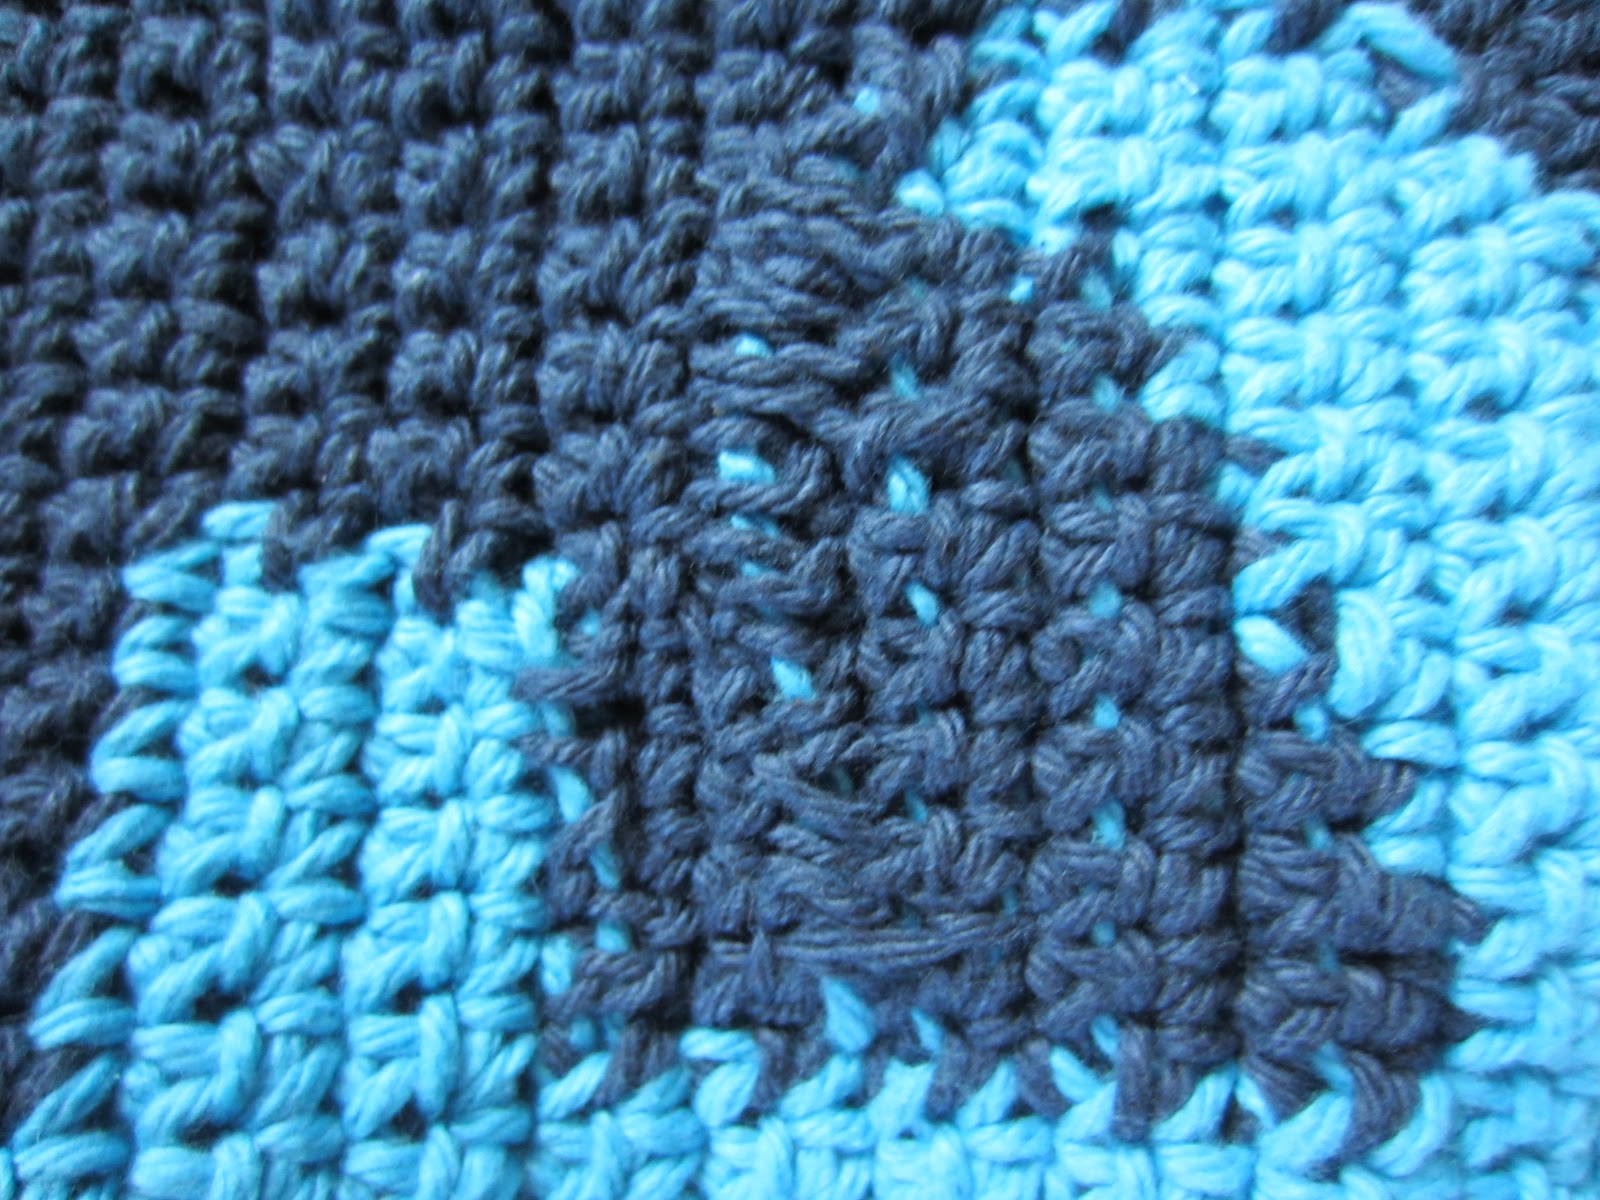
Once I saw the status of my project pictured above, I had the idea that I could invert this. So, while the navy is the filling when I'm working in turquoise, the turquoise becomes the filling in rows where it has to move between two sections, like the bottom four rows pictured above. I also knew that there would be some strips of turquoise yarn on the backside that I just couldn't avoid. (Like the ones on the upper left and lower right corner of the cross bar.) I decided that I would tack these down to prevent snags by simply sewing over them with navy yarn. Here are a couple of close ups of these areas once the sewing was done:
So, when I had remade the bottom of the anchor, and done the sewing, the inside ("wrong side") of the bag looked like this:
I made the strap and stitched it on to give the bag some structure. It has a little, though it's a VERY slouchy hobo. There's nothing wrong with that, but the fabric is pretty heavy and it tends to collapse onto itself. I think I know now why the Fashion First Aid bag pattern calls for a smaller size. But, I'm planning to use this more as a tote bag than a purse so I'm not too worried about it.
Here's the finished product:
If you're interested in other DIY projects, you can check out Brassy Apple's
Make It Monday!


As a navy wife, I LOVE THIS BAG!!!!!!!!!!!! I love anything with an anchor on it! :-)
ReplyDeleteThat is too cute!! Megan
ReplyDelete